
t4 pro installation manual
Welcome to the Honeywell T4 Pro Installation Manual! This comprehensive guide provides step-by-step instructions for installing, programming, and maintaining your thermostat. Designed for efficiency and ease of use, the T4 Pro helps you manage your home’s heating and cooling systems effectively. Whether you’re a professional installer or a homeowner, this manual ensures a smooth setup process. Follow the sections carefully to unlock the full potential of your thermostat.
System Requirements and Compatibility
The T4 Pro thermostat is compatible with most HVAC systems, including heating, cooling, and heat pumps. It supports smart home integration and operates on 2 AA batteries.
2.1. Supported HVAC Systems
The Honeywell T4 Pro thermostat is designed to work seamlessly with a variety of HVAC systems, ensuring compatibility and optimal performance. It supports standard heating and cooling systems, including single-stage and multi-stage units. Additionally, it is compatible with heat pumps, providing efficient temperature control year-round. The thermostat can also integrate with dual fuel systems, combining gas heating with electric cooling for enhanced energy efficiency. Whether you have a traditional setup or a modern HVAC configuration, the T4 Pro adapts to meet your needs, ensuring reliable operation and precise temperature management.
2.2. Compatibility with Smart Home Systems
The Honeywell T4 Pro thermostat is fully compatible with popular smart home systems, offering enhanced convenience and control. It seamlessly integrates with systems like Amazon Alexa and Google Home, allowing voice command functionality. Additionally, it works with other smart devices, enabling a unified home automation experience. The thermostat can be controlled remotely through the Honeywell Home app, ensuring you can adjust settings from anywhere. This compatibility makes it easy to incorporate the T4 Pro into your existing smart home ecosystem, providing a modern and efficient way to manage your home’s climate.

Pre-Installation Checklist
Ensure power is turned off at the breaker. Gather tools like screws, anchors, and a drill; Verify system compatibility and prepare the mounting location. Check for any existing wiring issues and ensure batteries are included for initial setup.
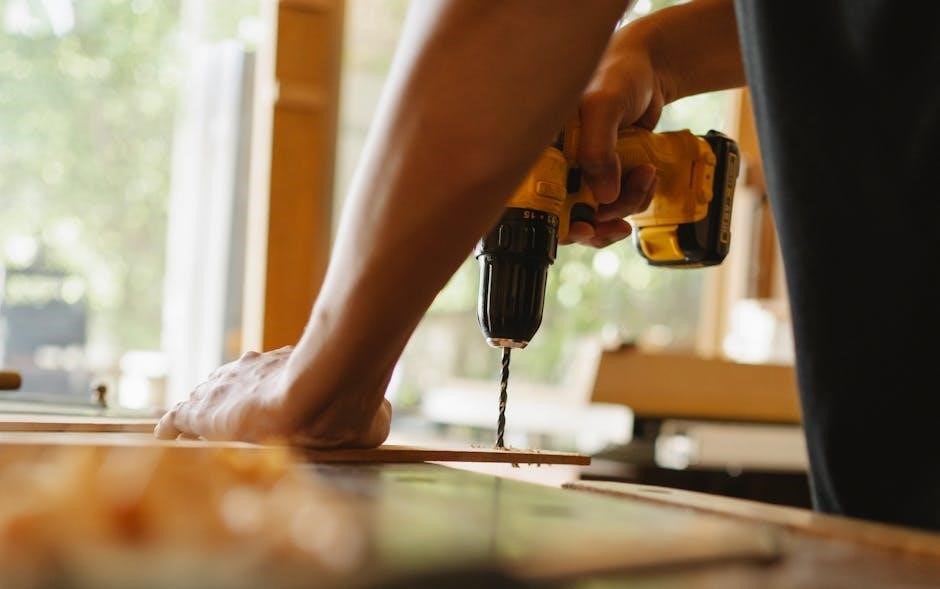
3.1. Tools and Materials Needed
To successfully install the Honeywell T4 Pro Thermostat, ensure you have the following tools and materials ready: screws, anchors, a drill, and the UWP mounting system provided in the package. Additional tools like a screwdriver, level, and wire stripper may also be necessary. The thermostat comes with a decorative cover plate, batteries, and installation instructions. Verify all components are included in the packaging before starting. If using the optional cover plate, ensure it matches your thermostat model. Double-check that your HVAC system is compatible and that power is turned off at the breaker. Having all tools and materials prepared will streamline the installation process and minimize downtime.
3.2. Safety Precautions
Before starting the installation, ensure all safety precautions are followed to avoid injury or damage. Turn off the power to your HVAC system at the breaker box or switch. Verify the system is completely cool before handling any components. Avoid touching electrical wires with wet hands or while standing on a damp surface. Use appropriate tools to prevent damage to the thermostat or wiring. Do not improvise with tools or methods, as this could lead to system malfunctions. Follow all guidelines provided by Honeywell to ensure a safe and correct installation. failure to adhere to these precautions may result in injury or void the product warranty.

Installation Process
The T4 Pro installation involves mounting the thermostat, connecting wires, and optional cover plate installation. Follow step-by-step instructions for a seamless setup, ensuring all connections are secure.
4.1. Mounting the Thermostat
Begin by turning off the power at the breaker box. Locate the junction box and ensure it is securely fastened. Use the provided UWP mounting system to attach the thermostat base, aligning it properly with the wall. If using the optional cover plate, position it to cover any paint gaps from the previous thermostat. Gently fasten the thermostat to the base, ensuring it is level and secure. For older thermostats, select the appropriate cover plate size to fit seamlessly. Once mounted, ensure the display is centered and easily accessible. Refer to the manual for specific cover plate types and installation details.
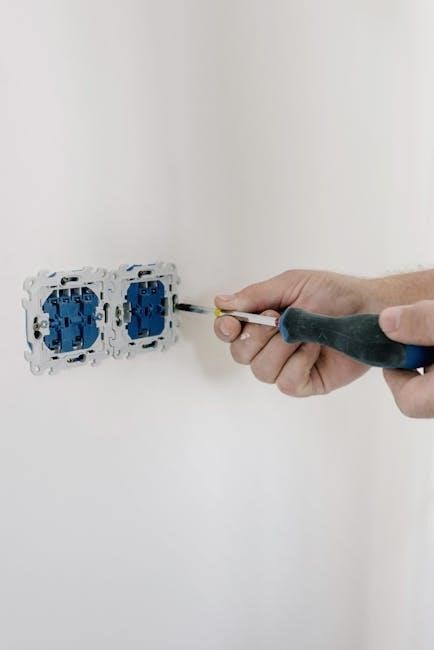
4.2. Wiring Connections
Before connecting wires, turn off the power at the breaker box and verify it is off using a voltage tester. Carefully remove the old thermostat and label the wires according to their terminals (R, W, Y, G, C, etc.). Mount the T4 Pro base and connect the wires to the corresponding terminals on the thermostat. Ensure all connections are secure and match the wiring diagram provided in the manual. If your system requires a common wire (C), connect it to the C terminal. Double-check all connections for accuracy before restoring power. Refer to the manual for specific wiring configurations and diagrams.
4.3. Optional Cover Plate Installation
The optional cover plate is designed to cover any paint gaps left by a previous thermostat. Begin by ensuring the thermostat is mounted securely. Take the cover plate and align it with the base, ensuring it fits snugly. Use the provided screws to attach the cover plate to the base. Tighten the screws gently to avoid damaging the plate. If the cover plate does not fit properly, check the alignment and adjust as needed. Once installed, the cover plate will provide a clean, finished appearance. Refer to the manual for specific guidance on cover plate installation and any additional requirements for your system.
Programming the T4 Pro Thermostat
Programming the T4 Pro Thermostat is straightforward using the on-screen menu. Set heating and cooling schedules, customize settings, and adjust preferences to meet your specific needs. Detailed instructions are provided in the manual to guide you through advanced programming features.
5.1. Setting Up Heating and Cooling Schedules
Setting up heating and cooling schedules on the Honeywell T4 Pro Thermostat is designed to be user-friendly. Start by accessing the on-screen menu, where you can create customized schedules to suit your daily routine. Use the Plus and Minus buttons to navigate through the menu options and select the scheduling feature. From there, you can set specific temperature levels for different times of the day, such as morning, daytime, evening, and nighttime. Ensure the internal clock is set accurately, as this is crucial for your schedule to function correctly. The thermostat allows you to set the same schedule for all days or create distinct ones for weekends. Once your preferences are set, press the Save button to confirm your schedule. This feature helps maintain a comfortable environment while optimizing energy efficiency.
5.2. Navigating the On-Screen Menu
Navigating the on-screen menu of the Honeywell T4 Pro Thermostat is straightforward and intuitive. Use the Plus (+) and Minus (-) buttons to scroll through menu options, and press the Select button to confirm your choices. The menu is divided into sections like System Settings, Schedules, and Advanced Settings. Access the main menu by pressing the menu button, and use the navigation arrows to move between options. The thermostat also features a back button to return to the previous screen. For additional guidance, the on-screen help option provides brief explanations of each feature. This user-friendly design ensures easy access to all functions, making it simple to customize your heating and cooling preferences efficiently.

Troubleshooting Common Issues
Identify and resolve common issues quickly with error codes and solutions. Check power supply, wiring connections, and sensor accuracy. Restart the thermostat if display issues occur.
6.1. Common Error Codes and Solutions
The T4 Pro thermostat may display error codes indicating specific issues. For example, E1 often relates to sensor problems, while E2 could indicate a wiring issue. If you see E3, it may signal a communication error with the HVAC system. To resolve these, ensure all connections are secure, check sensor accuracy, and restart the thermostat. Refer to the troubleshooting section for detailed solutions. Always turn off power before investigating wiring issues. If problems persist, consult a professional or contact Honeywell support for assistance.
6.2. Advanced Troubleshooting Techniques
For persistent issues, try resetting the thermostat to factory settings by pressing and holding the menu button for 10 seconds. Check for firmware updates, as outdated software can cause malfunctions. Verify wiring connections against the installation manual, ensuring no loose wires or incorrect configurations. If the thermostat isn’t responding, test the HVAC system independently to rule out external issues. Use a multimeter to check voltage at the thermostat terminals. Consult the error code list for specific solutions, and if problems persist, contact Honeywell support or a certified technician for further assistance.
Maintenance and Upkeep
Regular maintenance ensures optimal performance. Clean the thermostat with a soft cloth and avoid harsh chemicals. Replace batteries every six months or as needed. Check for software updates and perform a system reset if issues arise. Refer to the manual for detailed cleaning and upkeep instructions to maintain efficiency and extend lifespan. Schedule annual professional HVAC checks to ensure compatibility and proper function. Keep the thermostat free from dust and debris for accurate temperature readings. Follow these steps to maintain your T4 Pro thermostat effectively. Always refer to the user guide for specific maintenance recommendations. Happy maintaining!
7.1. Cleaning the Thermostat
Regular cleaning ensures your T4 Pro thermostat operates accurately. Start by turning off power at the breaker to avoid electrical issues. Use a soft, dry cloth to gently wipe the thermostat’s exterior and screen, removing dust and fingerprints. Avoid harsh chemicals or liquids, as they may damage the device. For stubborn spots, lightly dampen the cloth with water, but ensure it’s not soaking wet. Never spray cleaning products directly on the thermostat. Check for dust buildup around buttons or vents and clean with a dry cotton swab. Regular cleaning maintains functionality and ensures precise temperature control. Refer to the manual for additional cleaning tips.
7.2. Battery Replacement
The T4 Pro thermostat uses two AA batteries for power. Replace them when the low-battery indicator appears on the screen. Turn off the power at the breaker to ensure safety. Remove the battery compartment located at the back or bottom of the thermostat. Take out the old batteries and discard them properly. Insert the new AA batteries, ensuring the positive (+) and negative (-) terminals align correctly. Replace the compartment and restore power. Allow a few minutes for the thermostat to restart. Use high-quality batteries for optimal performance. Replace batteries annually or as indicated by the low-battery warning to maintain uninterrupted operation.
Congratulations! You’ve successfully installed and programmed your Honeywell T4 Pro thermostat. To maximize efficiency, regularly clean the device and replace batteries as needed. Schedule annual maintenance checks to ensure optimal performance. Explore advanced features like smart home integration for enhanced convenience. Refer to the troubleshooting guide for quick solutions to common issues. Always follow safety precautions during maintenance. For further assistance, visit Honeywell’s support website or contact customer service. Enjoy energy savings and a comfortable home environment with your T4 Pro thermostat. Happy heating and cooling!